Welcome to Tutorial Tuesday! A new series on my blog, where I'll be sharing quick, easy, and animated step-by-step instructions once a month! Today, I'm sharing these lacey, traditional tags, which are sure to dress up any gift!
This year, I'm using these sweet tags to tie brown paper packages of mulling spices for friends + family! What will you use yours for?
STEPS
1. Start by die-cutting the floral cluster shape
2. Stamp the outline guide by using the large background stamp and lining it up with the die-cut shape
3. Stamp center of flower, buds, and berries
4. Stamp leaves
4. Die-cut a scalloped heart
5. Using a marker, color the scallops only (easiest to do with brush tip markers)
6. Die-cut sentiment
7. Adhere floral cluster, sentiment and pearls to heart base
Once these are done, it's super easy to add sparkle, rhinestones, glitter, Nuvo drops, or any other little accents to dress them up even more!
It's also super easy to switch up the colors to more contemporary hues or match them up with your wrapping paper! I thought the green and red combo looked rather lovely with my kraft packages. If I get around to making another round, I'll be sure to experiment with colors that are a little more eclectic!
Thanks for joining me today friends! I hope you enjoyed this tutorial. I will be back again next month, to share another.
____________________________________________________________________
If you're inspired by this post and decide to make your own, share them with our crafty community!
____________________________________________________________________
If you're inspired by this post and decide to make your own, share them with our crafty community!
If you're not sure what #letsmakesomethinglovely is, check out the intro post here.
____________________________________________________________________
____________________________________________________________________
Happy Crafting!
SUPPLIES
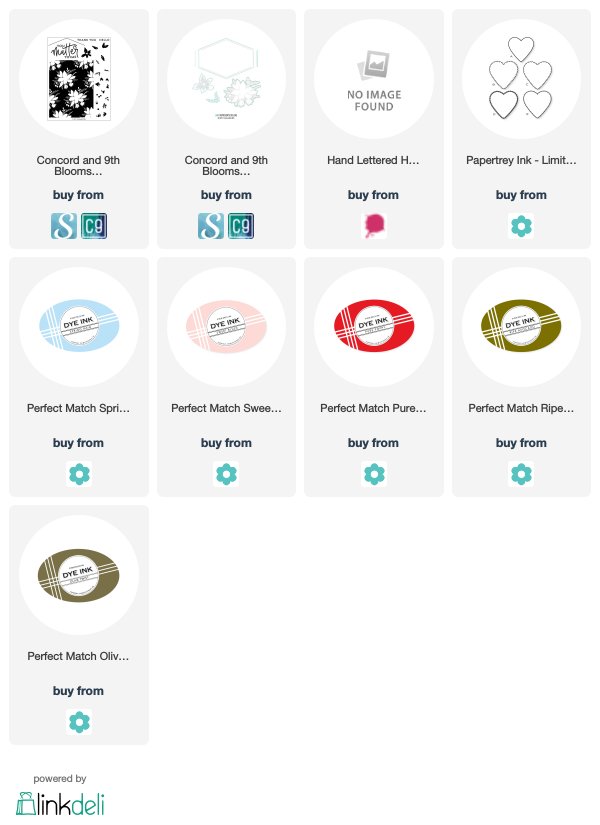
For your convenience, I've compiled a list featuring products used in the project(s) above. By using affiliate links when you shop, you will be helping to support this blog and exciting new content. Simply click below to go directly to the products, and in doing so, when you shop, I earn a small comission - at no extra cost to you! Yay to a double win!
Thank you so much for your support!


OK dear friend, this is: The. Sweetest. Ever.!! Love the ideas!Such pretty creations. Thanks for Tutorial Tuesday with it's animated instructions! So fun~~ Hugs, karen o
ReplyDeleteThank you so much, dearest Karen! So glad you liked the 'tutorial' :) I hope you are doing well! xo
DeleteI like the idea of a heart tag on a Christmas gift and yours are darling!
ReplyDeleteBig thank you, Lisa! I am a sucker for hearts :) Especially at Christmas! Thanks so much for your visits and sweet notes! xo
DeleteLove how you layer things up, Ivana! Beautiful tags & you're right about the colors going so well with the paper bags!
ReplyDeleteThanks so much, Greta! It's such a classic color combo! I find it soooo cozy :)
Delete