Do you remember making ornaments as a child?
I fondly recall countless hours spent curled up by the fire, with beads, glue, and numerous other trinkets, dreaming up ornaments of all sorts! They weren't always the prettiest, but they were always fun to make. Well, I still love making them, though these days I'm significantly shorter on time...So cue my super duper easy star ornaments. Plus they double as fabulous card embellies..Win win!
I'm stacking up a pile of these to gift away to a friend's daughter, who loves all things glittery! So I decided to make a matching tag to go along with it, and I ended up liking the design so much - it's such a fun one to do in multiples - that I made a whole pile of them to send out!
I first heat-embossed the beautiful Cozy Christmas Wishes stamp set onto some green cardstock, and then added a sparkly bow. I used these bows in my Holiday kit and had a few left over.
I also added sequins, a button and a pretty stamped leaf.
The stars also couldn't be easier to make - they just require a little bit of patience, and if you're short on it like I am, do these up before you're off to sleep and in the morning you'll wake up to a batch of beautiful, sparkly ornaments!
You will need a few chipboard stars, cut with your favorite dies, or store-bought.
If you don't have chipboard, cardboard works just as well ;)
You'll also need some homemade confetti, which I've made with my fringing shears, but you could use regular ones, and cut the paper into strips, then cross cut them into little squares. The last item you'll need is a sparkly glitter - the one I'm currently crushing on is from Martha Stewart,
but any glue will work, even Stickles!
To start, add a base layer of glitter glue to your star, then sprinkle with as much (or as little) of the confetti, and gently press in with your fingers. Coat with another layer of glitter and let dry. Don't worry if your confetti doesn't line up with the star's edges. I waited until everything was dry and then used my scissors to snip off the excess.
I think they look so lovely nestled into the tree, but they could work just as well for gift tags, or as a card adornment.
Thanks for joining me today friends!
Biggest thank you's for visiting and for your support! It means so much.
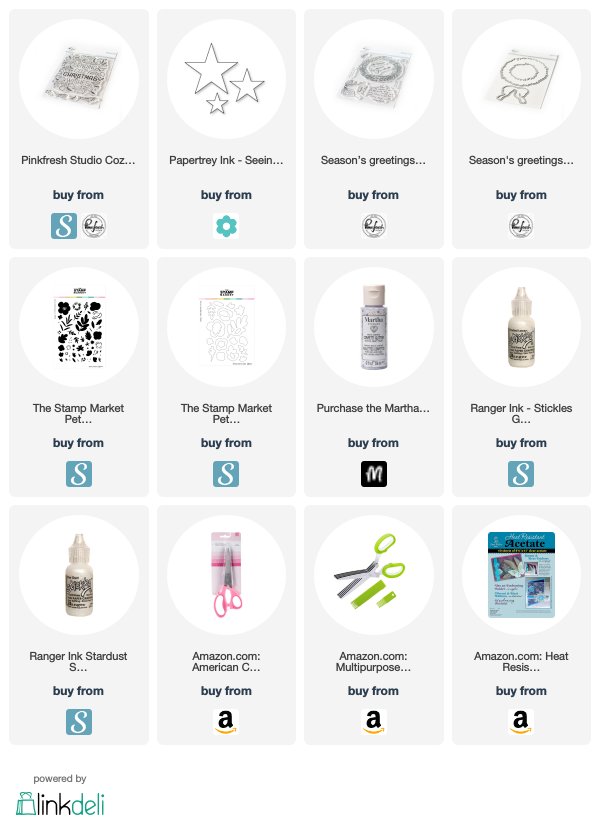
This list may contain affiliate links. Using these links before shopping will never add any extra cost to your purchase, but will go a long way in helping support this blog and exciting new content.
I only share products I love, and think you will too :)
Biggest thank you's for visiting and for your support! It means so much.


Completely gorgeous!! Oh my Ivana these stars are so pretty~ And really more simple than I thought they would be. Your green based card is beautiful! Perfectly set with just the right amount of embellishing~ TFS and have a wonderful weekend~ Hugs, karen o
ReplyDeleteOh thank you, sweet friend! I so enjoyed making them! xoxo
DeleteStars, and glitter? Confetti that glistens? These ARE a few of my favorite things, Ivana!! So very gorgeous! OH I wish my nose wiggling worked! xx
ReplyDelete=]
Aww how I wished so too! One day! Sending big hugs and thank you's!
DeleteHow clever and pretty are these creations? I LOVE your fun stars!!
ReplyDeleteThank you so much sweet friend! xoxo
DeleteOH my goodness, these are beautiful!! That Martha knows a thing or two doesn't she!!
ReplyDeleteIndeed, she does! Thank you so much, sweet friend! xoxo
DeleteBeautiful Christmas card! Love the sparkly bows and the stars too!
ReplyDeleteThank you so very much, Denise! xoxo
DeleteOh Ivana--you make the prettiest things! I adore the sparkly bow & all the pink! The tag is so fun & the stars are totally awesome!
ReplyDeleteAwe, thank you friend! That means so much coming from you! Sending biggest hugs! xoxo
Delete