As many of you. we've started receiving some Holiday happy mail and I couldn't be more thrilled to open my mailbox every morning. Can we please have Christmas mail surprises all year long?!
In light of the increased mail action, I thought it would be fun to do a Delicate Series project that is a teensy bit related to this and will hopefully be helpful in your holiday crafting!
First I need to ask...Does anyone else get a little squirm-ish when a card sheds glitter everywhere?!
I loooove things that sparkle and shine, but if it makes your house look like Santa's workshop, and you're picking itty bitty twinkles off everything from your cat, to your hubby's work clothes (lol), you gut-wrenchingly know that card just might be going back into the envelope! Since I don't think that any card deserves such a harsh punishment, I'm sharing my favorite way to avoid this situation!
(To be honest, that would never, ever happen around here. It just might reside on a high shelf where it can't be disturbed ;P)
So, to start my delicate tags today, I used the lovely Concord and 9th Blooms Fill-In dies for the base, cut out of kraft cardstock. For the focal point of the tag, I decided to use a sparkly heart using PTI's Limitless Layers: Hearts dies, and here are three levels of intensity to make it mess-free!
______________________________________________________________________TIP: MESS-FREE GLITTERING
For mess-free glittering use these adhesive sheets. Add them to your cardstock before running through your die-cutting machine. Then simply peel the backing, and glitter away! They are so great at holding sparkle in place. So long as you liberally shake off the excess (I actually press it in place with my fingers, and then use a very soft makeup brush to do so). If you're looking for an even stronger hold, you can heat set the glitter into the adhesive, just be sure to use only light heat from your heat gun, or the adhesive will blister. Lastly, for maximum hold, you can add a glaze over-top with a product like Glossy Accents, this fab Glitter Sealant, or Nuvo drops that are tinted, but clear.
______________________________________________________________________
To dress up the heart even more, I used Altenew's gorgeous Poinsettia and Pine stamps and dies. I embossed the flowers in white, and then used a pink Copic marker to color the back of the vellum. I added a holo rhinestone to the center, and then added gold-embossed vellum leaves underneath, as well as a sentiment and some extra branches under the cluster.
______________________________________________________________________If you're in the glittery mood or just feeling inspired by these tags, I hope you'll give them a try!
If you're not sure what #letsmakesomethinglovely is, check out the intro post here.
______________________________________________________________________
______________________________________________________________________
Wishing you all a happy start to the weekend!
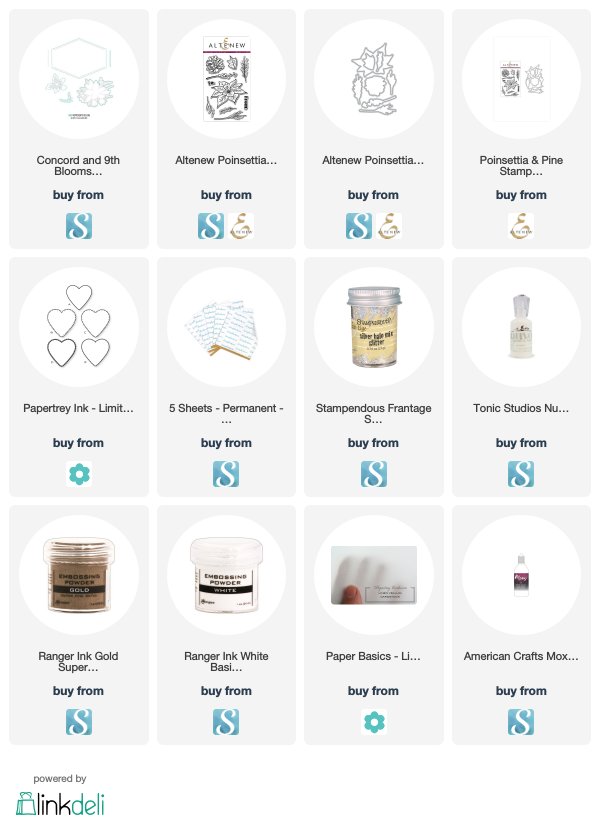
SUPPLIES
For your convenience, I've compiled a list featuring products used in the project(s) above. By using affiliate links when you shop, you will be helping to support this blog and exciting new content. Simply click below to go directly to the products, and in doing so, when you shop, I earn a small comission - at no extra cost to you! Yay to a double win!
Thank you so much for your support!


Oh my!! The vellum, the glitter, the colors ~ SWOON!!
ReplyDeleteLisa, this is my absolute fave holiday color combo! It's just SO sweet and feminine! I had to pry myself away from these hues to make more traditional cards! lol
DeleteOh my goodness are these ever gorgeous! With the palest and softest of colors; they are delightful Ivana~ The kraft cardstock base seems perfect to set off the mood. Thanks for the tips! (I do use glitter; but also like it to be Firmly in place! : ) Your layers are amazing. Hugs, karen o
ReplyDeleteThan you so much sweet friend! I'm with you about the glitter - it's so nice when it stays put :) Hugs to you! xo
Delete