

Gingerbread is one of our favorite cookie flavors. We love it so much around here, that it's a staple year-round! A few might say it's plain or boring, or only to be used for making delicious holiday decor. I say, gingerbread can be crazy flavorful, soft, and sooo yummy! While I still lived in Europe, we often enjoyed Lebkuchen, which is a gingerbread of sorts, but a much more complex and flavorful version (imho). I have tried, to no avail, to get the recipe right, so if any of you happen to have one kicking around...I beg you....Please, please share it with me!
For now, though, I'll just share this little tribute to my favorite cookie. Oh and a lovely textured background, inspired by Holiday icing.

To start my little card today, I used a circle stencil to ink up the focal background of my card, in colors of Aqua Mist and Spring Rain.
______________________________________________________________________
TIP: MAKE YOUR OWN STENCIL
If you do not have a circle stencil, it is super easy to make one! Simply die-cut a circle out of thick cardstock or acetate, and it can be used as a stencil time and time again!
______________________________________________________________________
I then reached for my Moroccan-tile stencil and laid it directly over-top the circle stencil. This one is a great alternative. I used my light Molding Paste from Golden to fill in all nooks and crannies with my art spatula, and then my heat gun to dry this little background in a jiffy.

I thought the corners looked a little empty, so I stamped four hearts and then also added my sweet, stamped gingerbread house (from PTI's Gingerbread Lane stamps, discontinued, but you could use these and color in all the little bits).
I also added a sparkly pipe cleaner and a three yummy candycanes, stamped in Sweet Blush, Aqua Mist, and Pinefeather. using the Sweet Holiday Wishes stamp set from PTI.
I mounted the entire piece onto a card base, with some 3D adhesive dots, and then added a little bit of sprinkles washi tape and a heart-stamped border at the bottom.
______________________________________________________________________
If you're inspired to try this textured background, why not share it with us!
If you're not sure what #letsmakesomethinglovely is, check out the intro post here.
______________________________________________________________________
______________________________________________________________________

This was the funnest card to make! I urge you to give it a try!
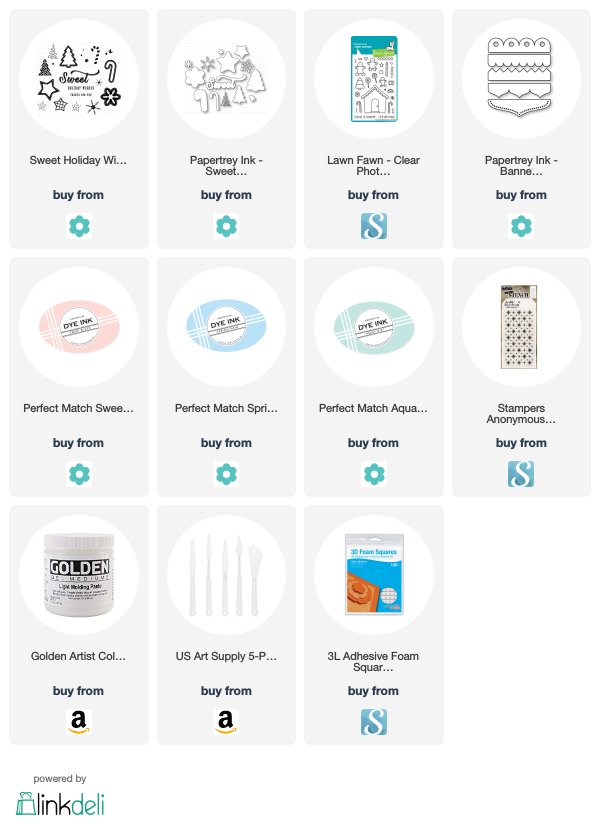
SUPPLIES
For your convenience, I've compiled a list featuring products used in the project(s) above. By using affiliate links when you shop, you will be helping to support this blog and exciting new content. Simply click below to go directly to the products, and in doing so, when you shop, I earn a small comission - at no extra cost to you! Yay to a double win!
Thank you so much for your support!


Ivana I just love your new blog! It's sooo you! And this card is sooooooo sweet and festive! Can't wait to see more! Miss you xoxo Aneta
ReplyDeleteThank you so much, my sweet Aneta! It means so much to me that you like it! I've been working on it for some time and I'm so glad it's finally up :) Also, thank you so much for the sweet note about the card. Whenever I stencil, I think of our time together. Miss you heaps too!
DeleteSuper sweet card & I love the stenciling!
ReplyDelete