Happy Saturday, Friends!
I am popping in with a super quick post and share of a card I recently sent out to a crafty friend.
Dimension is not a friend of snail mail, but today's card incorporates both texture and mail-ability, which is always a win in my books! I have a couple of strategies to share, so let's get started!
To start my little card, I layered some paper patterns onto a white base. I also adhered a smaller, patterned backing to extend the size of the card and create a pouch (by adhering only the sides and bottom of the added extension).
____________________________________________________________________
TIP
Instead of a traditional card, which would have two layers and open up, I've saved a little bit of thickness by opting for a tuck-in, single-layer card. Using a vellum tag (which is a lot thinner than cardstock) also helps allow for a little extra room to play with textures.
______________________________________________________________________
I had to figure out a way to write on the vellum tag, since it's a bit of a slick surface and standard pens don't work all that well. Luckily, my Signo roller pen worked like a charm!
To decorate the card and add a bit of dimension, I used white stars, cut with PTI's Seeing Stars collection, and added blue snowflakes with PTI's Freshly Fallen dies.
____________________________________________________________________
TIP
Using layered paper die-cuts, adds a lot of dimension and interest, without a lot of bulk! By alternating colors of the diecuts, you can add even more interest, such as with the white and blue bits above.
_____________________________________________________________________
Just below that, I added a little chipboard tree, which is another fun way to add dimension that is not too bulky.
At the bottom, I finished the card with a white heat-embossed sentiment and sweet branches from Pinkfresh Studio's Great Joy stamp set.
I also added a vellum bow, which is a super easy way to add some extra dimension, and it folds flat for mailing.
To accompany the card, I made a little wrap pouch out of dotted tissue paper, that holds two little glassine baggies filled with rhinestones and sparkly accents. Because what crafty gal doesn't love to get a little sparkle!
To decorate the baggie, I used various hearts, and adorable, dotted mittens colored with Spectrum markers.
______________________________________________________________________
I hope you enjoyed this idea for a perfectly mail-able, yet dimensional project. Share yours at
To decorate the baggie, I used various hearts, and adorable, dotted mittens colored with Spectrum markers.
______________________________________________________________________
I hope you enjoyed this idea for a perfectly mail-able, yet dimensional project. Share yours at
If you're not sure what #letsmakesomethinglovely is, check out the intro post here.
______________________________________________________________________
______________________________________________________________________
Thanks so much for visiting!
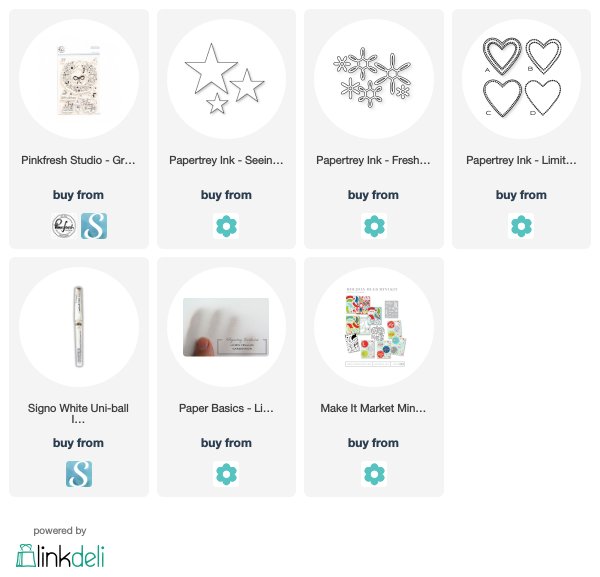
SUPPLIES
For your convenience, I've compiled a list featuring products used in the project(s) above. By using affiliate links when you shop, you will be helping to support this blog and exciting new content. Simply click below to go directly to the products, and in doing so, when you shop, I earn a small commission - at no extra cost to you! Yay to a double win!
Thank you so much for your support!


Gosh, you do create the most beautiful pieces! I always look forward to your postings. Thank you and Glad Tidings for Christmas to you x
ReplyDeleteThank you so much, Rachel! That is so kind of you to say! So glad you stop by to visit and comment, it means so much to me! Merry Christmas!
DeleteI do love your use of non-traditional colors for your Christmas projects! Marvelous work once again!
ReplyDeleteAw thank you, Lisa!! Sending you big hugs!
Delete