

Hello Friends! I have a very special tutorial to share with you today! And I'm thinking I need to re-think my name for this series - getting things posted on Tuesdays is not always in the books! So let's just pretend it's the right day, shall we?
I shared a few projects a while back with this technique, but I thought we could re-visit it today and talk about the beauty of the double embossing method, and why it brings about a totally different look to layering stamps. When working with just ink, one typically needs to add intensity as each stamped layer is added, otherwise the lighter colors below won't show up. This usually results in a pretty bold image at the end. The beauty of using double-embossing (which just means to heat-emboss on top of already heat-embossed designs), is that you can start with bold colors at the bottom, and add in softer colors as you add more detail. It results in a much softer overall look - which surprise surprise - I love! Here are the steps for the lower flower.

STEPS
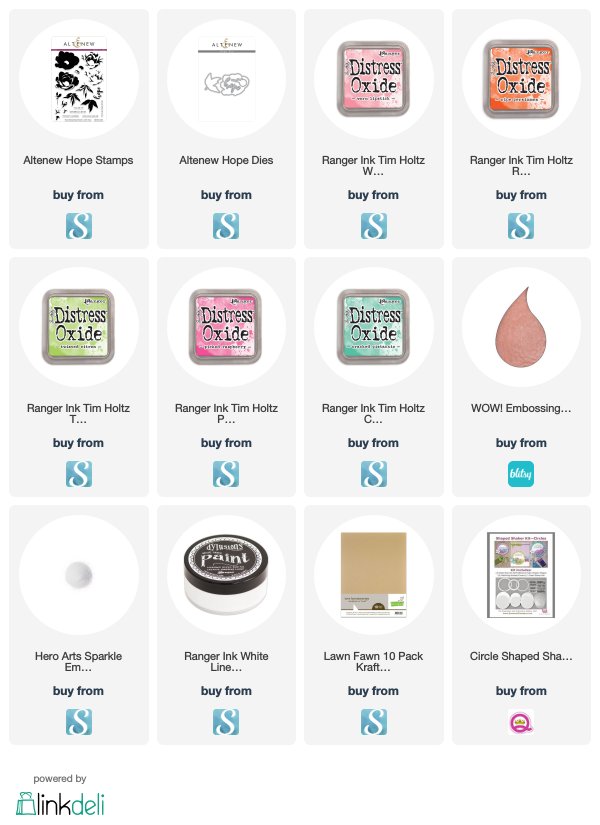
1. Pick a stamp image that has several build-able layers. Here, I've used the Hope stamp set by Altenew.
2. Choose your ink and embossing colors. I chose soft pink, darker pink and orange Distress Oxide ink along with a shimmery Rose Glintz powder, white, and a sparkle embossing powder.
3. Stamp a soft pink as base of flower, heat set.
4. Stamp dark pink layer, heat set, and dust with anti-static pouch.
5. Stamp next layer with Versa Mark ink, add Rose Glintz powder, shake off excess. Heat set and dust with anti-static pouch.
6. Stamp final layer with Versa Mark ink, add white embossing powder, shake off excess. Heat set and dust with anti static pouch.
7. Stamp center design with orange ink and heat-set.
8. Stamp again with base image (to cover the whole flower) and Versa Mark ink, and add sparkle embossing powder. One final heat set. Add white pen dots to the flower center.

_________________________________________________
TIP
It helps to stamp each layer separately, and to use an anti-static pouch before each embossing step. This is super important to ensure crisp lines. It's also very helpful to heat-set after each stamp step. This helps the ink dry a bit, so new ink layers and embossing powder layers, will only stick to the layer you are working with.
_________________________________________________
To finish up the rest of my card, I speckled on a generous amount of white and pink paint splatters, and added a dash of sequins and Nuvo drops. If you do not have any pink paint, simply mix white paint with a bit of pink dye from a re-inker. For the centerpiece, I stamped the sentiments in Distress Oxide ink in Worn Lipstick and Ripe Persimmon. I stamped the leaves in Cracked Pistachio, Twisted Citron and Mowed Lawn ink, adding some white accents with my Signo pen.
TIP
It helps to stamp each layer separately, and to use an anti-static pouch before each embossing step. This is super important to ensure crisp lines. It's also very helpful to heat-set after each stamp step. This helps the ink dry a bit, so new ink layers and embossing powder layers, will only stick to the layer you are working with.
_________________________________________________

I absolutely love this method of stamping, it gives stamps a totally new look!
_________________________________________________
TIP
It helps to use a chalky ink, either Distress Oxide or another type of pigment chalk ink, if you plan to do this technique on darker cardstock, such as the kraft I've used here. For lighter colored paper, you could easily get away with using your favorite dye ink, and can easily skip heat-setting for the first two steps.
_________________________________________________

Hope you enjoyed today's tutorial! Join me next month as I share another.
SUPPLIES
This list features some affiliate links to products used in the project(s) above. Should you use these affiliate links before making your crafty purchases, it will never add any extra cost to your purchase, but it will go a long way in helping support this blog and exciting new content.
Affiliate link or not, I only share products I love, and think you will too :)
Biggest thank you's for visiting and for your support! It really means so much.
____________________________________________
Do you love this technique as much as I do? Can't wait to give it a try? Share your double-embossing results with us! Tag your projects with
#letsmakesomethinglovely
Do you love this technique as much as I do? Can't wait to give it a try? Share your double-embossing results with us! Tag your projects with
#letsmakesomethinglovely
____________________________________________
SUPPLIES
This list features some affiliate links to products used in the project(s) above. Should you use these affiliate links before making your crafty purchases, it will never add any extra cost to your purchase, but it will go a long way in helping support this blog and exciting new content.
Affiliate link or not, I only share products I love, and think you will too :)
Biggest thank you's for visiting and for your support! It really means so much.


This is such a pretty card Ivana! Everything flows together perfectly and I love the colors!
ReplyDeleteThanks so much, dear friend! Big hugs to you! xo
DeleteLovely colors and such a pretty design Ivana.
ReplyDeleteHugs Diane
Heaps of thanks, Diane! Sending hugs xo
Delete