Hello Friends!
Back with another background post today, because making backgrounds is fun! Especially when pretty stamps are involved, no? You can read my first post on backgrounds here, which is full of tips on how to get started. Today's card is all about stamp layering, with a pop of flowery goodness, of course.
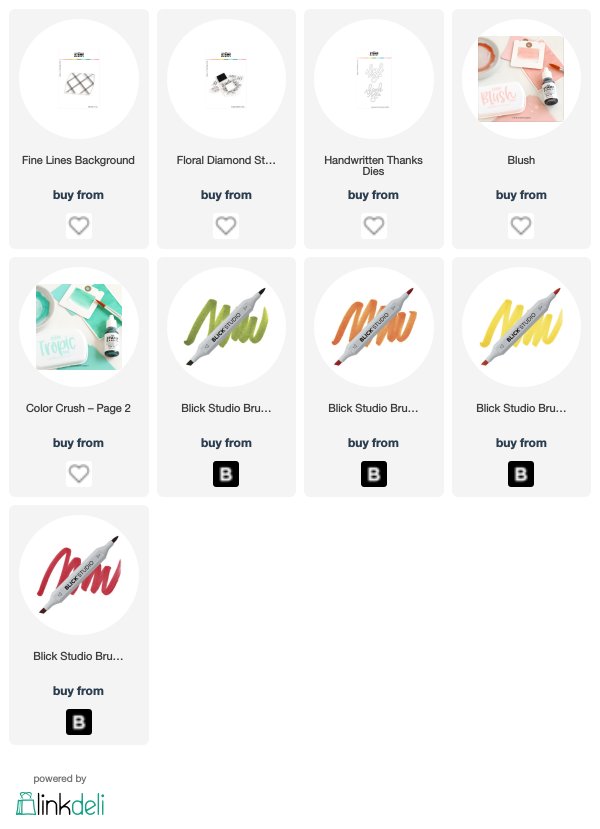
To start my card, I stamped up a diamond design using the Floral Diamond set and layered another background design, Fine Lines Background, over-top. I used Blush ink for the diamonds, and a coral embossing powder for the fine lines. Which brings me to my tip ;)
____________________________________________
TIP
The 'Layered Background' look, which involves stamping one design, and then stamping another design overtop, is super easy to achieve with many different styles of stamps - from circles, to florals, to diamonds, as I've done here. The key to making the background work is to pick different weights of design - such as a solid diamond paired with a thinly-lined diamond, and to pick contrasting colors. I usually like to use the lighter color for the solid designs, and stick to a bolder color for the accent design. I find these tips help the background look balanced without overwhelming the focal point of the card. But if you're after a more dramatic look, you can easily switch these! By using darker ink for your base layer, and heat-embossing a ligther accent for your top layer, you will have a lot more leeway in which colors you mix n match, since embossing powder shows up even over dark colors.
____________________________________________
As you can see, I was able to use a bold floral for my focal point - coloring up the floral design with some marker hues - and it still looks nicely balanced, and quite soft overall.
____________________________________________
TIP
If you'd like to tie in your background even more, it can be helpful to use the same background colors in your focal point design and your sentiment.
____________________________________________
To finish off my card, I used the Handwritten Thanks dies for the sentiment, layering with Blush and Tropic Teal cardstock.
I hope this is an easy and helpful way to dive into stamping layered backgrounds. If you'd like to see another post in this series, let me know below :)
Thanks for visiting, sweet Friends!
This list may contain affiliate links. Using these links before shopping will never add any extra cost to your purchase, but will go a long way in helping support this little blog and exciting new content.
I only share products I love, and think you will too :)
Biggest thank you's for visiting and for your support! It means so much.
I only share products I love, and think you will too :)
Biggest thank you's for visiting and for your support! It means so much.


You've taken that fine line and created the loveliest main area for these gorgeous blooms, and greeting, Ivana. I'm always going to ask for more from you. wink!
ReplyDeleteWe're going to need ONE BIG GIANT thank you to everyone who is following these important stay-at-home rules, aren't we? Biggest hugs, my friend...
=]
Absolutely! SO great to see folks taking things seriously - even here in the midst of an ever-lasting winter! Thanks sweet friend, hope you are well! xo
DeleteThis is mesmerizing Ivana! There are so many wonderful details to drink in. Your background is beautiful and so are your color. Love this!
ReplyDeleteThank you so much, Lisa!! Something about this card just makes my heart happy - it's a very nostalgic nod to my grandma, so I'm sure that has something to do with it :)
DeleteFabulously lovely! I adore the mid-century vintage vibe to the beautiful stamped background that you've created here.
ReplyDeleteAutumn Zenith 🎃 Witchcrafted Life
I do love me some vintage vibes..Especially in luscious colors! Thank you friend! xo
Delete