
Happy Sunday, Friends! I hope you've all enjoyed your weekend immensely!
I have a jam-packed post lined up today, with five colorful cards - some inspired by challenges, others to showcase some new favorite products.

It's been so fun playing with these colorful tones, and the pops of black throughout.

And all the yummy texture...
:)

To start the post off I'm sharing two cards that I'm entering into Papertrey's Spot Color Words challenge and Papertrey's Transformation Tuesday challenge.

First up, for Betsy's awesome Make it Monday Spot Color Word challenge, I am sharing this pastel card. I love this super simple and fun technique! I changed mine up a tad by adding some dimension to the letters and to the rest of the card, but I still followed the general idea (of localized color on a word die). To learn how to do this, check out Betsy's awesome video here.

To start this card, I stamped Rustic Wreath and Peonies on Parade stamps onto a card base, as well as details from the Stitch in Time set. I then used PTI's Headline Alphabet dies to cut the letters out.
I used Spectrum Aqua markers to color the letters in soft shades. Here is where I diverged a bit. I also cut 3 more sets of these letters and glued them together and underneath the colored letters, to provide a bit more dimension to the sentiment.

I layered the finished piece onto a floral patterned paper, which I stenciled with some large scallops and then fussy cut with my scissors. I added a soft rosette ribbon to the bottom of the card, along with teeny white pom poms, and white sequins around the wreath. Oh and a pretty pink button and twill tape at the top :)
I also used this card for the next challenge - Stephanie's Transformation Tuesday. Since I liked this card, but really wanted to color in all the yummy floral bits, I thought I would challenge myself to make another card that was sort of a mirror opposite to the first!
Here's a looksy at the final result.

I think I like both styles, but in different ways! And I love this challenge and the way it entices completely new and different looks from the same ingredients :)

For this card, I started the base much the same way as the first, and then used my delicious Spectrum markers to color in all the glorious little bits. Oh how I love these new markers.
They are waterbased and really fun to blend with! Have you played with them yet?
I also used the same PTI alpha dies to die-cut the hello sentiment, but this time, I staggered the letters a bit, and decided to use the negative cutout as is. I found the clean look a bit more suited to the colorful and busy florals.

I adhered the colorful finished piece onto pink striped paper and then used a collection of paper roses to decorate the wreath.

I also used some of my new 'resin' gems, which are all handmade! You can find tutorials for these sweet gems all over the net, but I thought I'd share how I made these simple accents.
All you need to make these darling resin dots is some Perler melting beads (I bought a pack like this one), a baking tray, some parchment, and an oven.
I stood up all of my beads on the parchment-lined baking tray, and baked the beads at 350 degrees until they were melted. I think it took about 25 minutes. I recommend keeping a close eye on the beads until you know how your oven works, so that they don't burn. Also, if you have a convection oven (with a strong fan) you may want to put something heavier on the parchment so that it doesn't knock the beads over.
And that's it! So easy-peasy :)

For the last touch on my card, I used a stamp set to emboss a multi-colored sentiment across the wreath.
I first embossed the entire word in white embossing powder, and then used my Versamark ink and my stamp positioner to stamp over the word again, and this time adding little strips of colored embossing powder, before heating with a heat tool. I used embossing powder colors of Ranger's Lilac, Buttercup, and Rose Quartz.
I then used a black pen to outline the letters just to make them pop a bit more.

Although I've strayed from black details in the past, I'm thinking black accents are my new favorite go-to :)
Next up, I'm sharing a few favorite products for April.
Currently, here are the goodies at the top of my list:
STAMPS: Pinkfresh Studios - Sweet Treats Stamps and Dies
EMBELLISHMENTS: Pink Paislee Confetti Wishes

First up, one of my new favorites, is this adorable, sweet, colorful cake, from the Sweet Treats stamp set by Pinkfresh. You probably saw it here already, and I'm sure I'll be using it many more times in the weeks to come. Isn't it the cutest!? I am not kidding when I say that I've turned my little studio into a cake workshop the past few days...Piles upon piles of colorful layers scattered all about. Can't think of anything more fun :)
To start this card, I used a white card base, followed by a pink pattern, and an inset of pink stripes as well as a pretty, stenciled white base. Another total fave is this sweet fireworks stencil form Echo Park. It's called Wish Upon a Star - Magical Sky, and it's so very beautiful. I used Lovely Lady ink to stencil the pretty sparkly details, which I then added some iridescent rhinestones to, as well as an embossed sentiment using the Just Desserts mini stamp set from PTI.

I used the beautiful Confetti Wishes collection puffy stickers to add a few candles to the cake. Aren't they sweet? I made sure to line them up with the stenciled bits, to make each candle a little sparklier :)

To back the cake, I used Papertrey Ink's Shape Shifter's Circle 1 die. I decorated the circle with sequins and rhinestones for a bit more sparkle.

At the bottom, I added some frilly rose ribbon, which adds to the girly nature of this card!
My next card is girly as well, with a touch of tropical bliss.

For this card, I once again reached for my Sweet Treats stamp set for all the beautiful florals. I stamped a variety of the itty bitty blooms and used my Zig Clean Color Real Brush Markers to color in all the details.
To start the card, I used a pinked edge circle negative die cut as a stencil with a wee bit of blended ink.

At the top of the card, I layered a bundle of the colored flowers, and added a stringed banner of beads. To make the banner, I used thin wire, wood beads and teeny glass beads. In my first try, I attempted this look with string, and it just wasn't holding up. As soon as I switched to wire, I found it super easy to bend the beads into shape and can really see this technique being used to make all sorts of fun things - from flowers to hearts to fonts! Can't wait to give these ideas a whirl :)

Atop the inked circle, I layered a half circle, cut using PTI's Scene It: Basic Backer die. I stamped sprinkles onto the half circle, using colors of Tropical Teal and Berry Sorbet. I stamped the Sentiment using colors of Lovely Lady and Green Parakeet. To that, I added a few more florals as well as a darling little puffy sticker bird, from the Confetti Wishes collection.
The sprinkles and sentiment are also from the Sweet Treats stamp set by Pinkfresh Studio.

At the bottom, I finished the card off with a bit of patterned paper from the Oh Happy collection from American Crafts.

For this last card, I wanted to keep things a bit simpler, and work on colorful details without too many layered embellishments.
To start this card, I stamped a chevron design in colors of Pure Poppy, Pale Peony, Green Parakeet, Tropical Teal, Aqua Mist, and Lovely Lady.
Atop that, I layered a postage stamp cut from this Pink Paislee Confetti Wishes patterned paper.

I layered both onto some pink striped paper, and added an embossed sentiment.

At the bottom, I added a strip of paper with some polka dots and fanciful feathers.
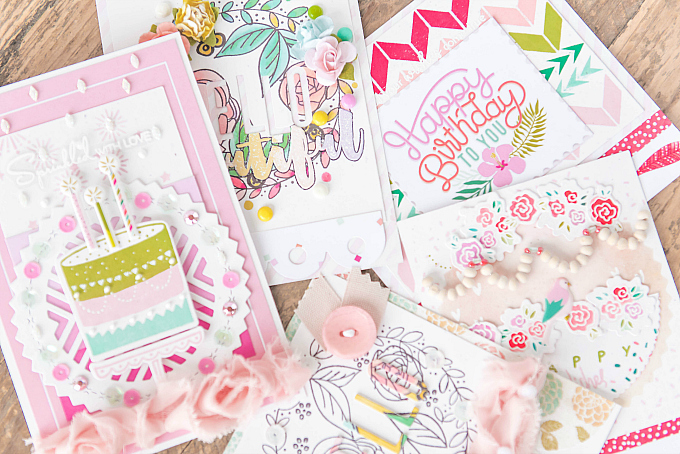
I'm especially in love with this colorful bundle of cards..It makes me smile! And makes this rainy day a little less grey :)
Wishing you all a happy week ahead!
Ivana
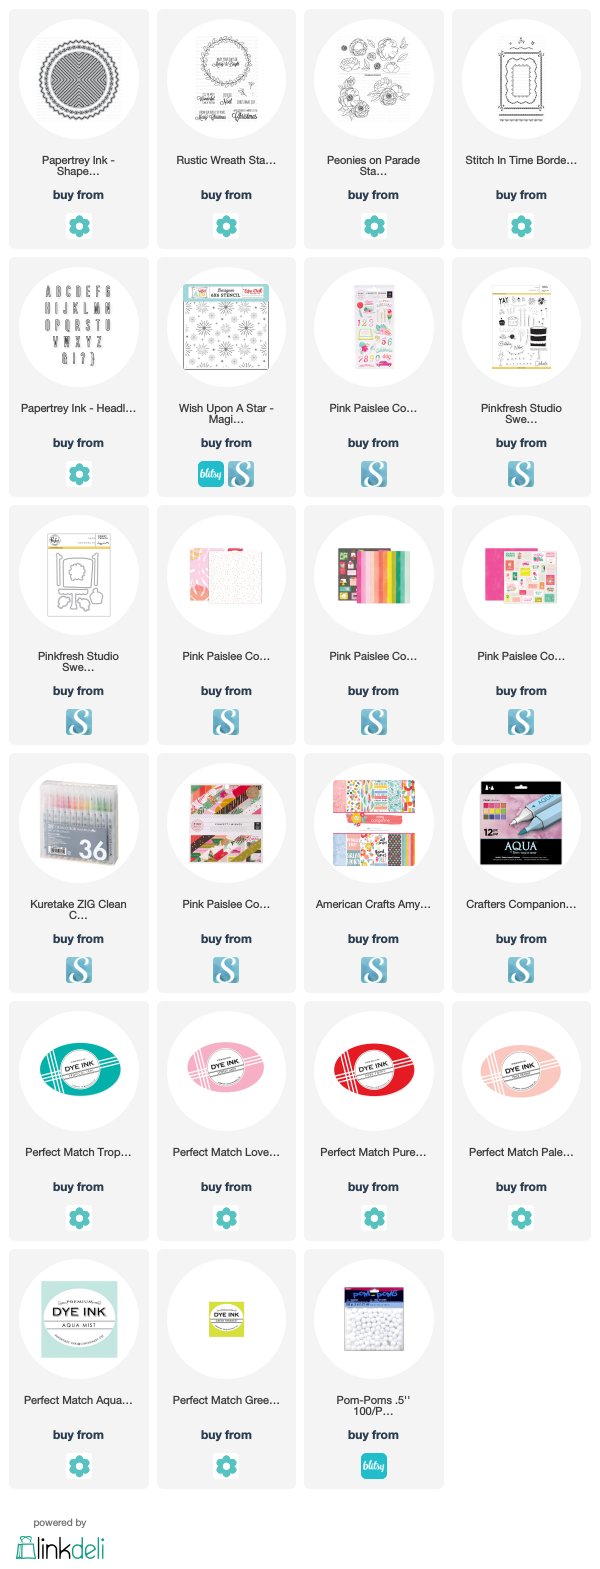
p.s. Friends - I'm trying out a NEW supplies list that will be featured at the end of each post. I hope it will make shopping a little easier and allow you to quickly see products I've used on each project. Using this feature will not add any additional costs to your purchase, but it will go a long way in helping me maintain this little blog of mine. Your purchases through any of the AMAZON, BLITSY or SCRAPBOOK.COM links below will help me convert a small portion of your sales towards running this little blog and creating new, exciting content on an on-going basis. So if you like what you see here and you enjoy visiting my creative space, please consider using these links when you shop.
Also please note, although I do make a small commission on the sale of some products I feature, all products used on this blog and opinions shared are my own and are not influenced in any way.
I simply love to share the goodies that make crafting fun for me, in hopes that they'll do the same for you! :)
I want to extend a HUGE thank you to anyone who has already used these links! Your support means the world to me and I cannot express my gratitude enough. Thank you!


So many wonderful cards. Love that you and I had the same idea to use the MIM card for our Tuesday Transformation. Your's are both fantastic.
ReplyDeleteAw, thank you, Joyce! It was just so easy to combine them this time around - loved your beautiful creations too! Sending big hugs!
DeleteWOW, five lovely cards, Ivana! That card you “transformed “ did not need to be but both versions are lovely. Very cool that you made your own gems from Perler beads as I’ve seen that on,one but never tried it.
ReplyDeleteThank you so much, Kathy! I couldn't believe how easy it was to make the bead spots...Hope you'll give it a try sometime! Sending hugs :)
DeleteYou're so talented & have such a wonderful modern style! Love the gorgeous pink rose ribbon! All your cards are beautiful, but I especially love the Color Spot card!
ReplyDeleteAw, Greta, I'm so humbled by your sweet note. Thank you, dear crafty friend :) I really like the spot card too and I can't wait to try it again once I add a few more outline stamps to my collection! Sending you big hugs! :)
DeleteIvana, I'm in awe of these beauties... I must say I love the way you've accentuated the negatives! lol
ReplyDelete=]
lol Michele there you go again making me giggle..Thank you, sweet friend, for the note and the smiles! :)
DeleteOh my dear Ivana so many eye candies in one post! You are spoiling us! Sweet cace card is my fave! Missing you everyday! xoxo
ReplyDeleteThank you so much, my dear friend :) Missing you just as much!
DeleteOh my stars, these are so many things...dreamy, feminine, delightful, sweet .... FABULOUS!!
ReplyDeleteThank you so much, dear Lisa! :)
Delete