
Okay before we dive in...
Have you SEEN the beautiful Anemone collection from The Stamp Market, Friends?

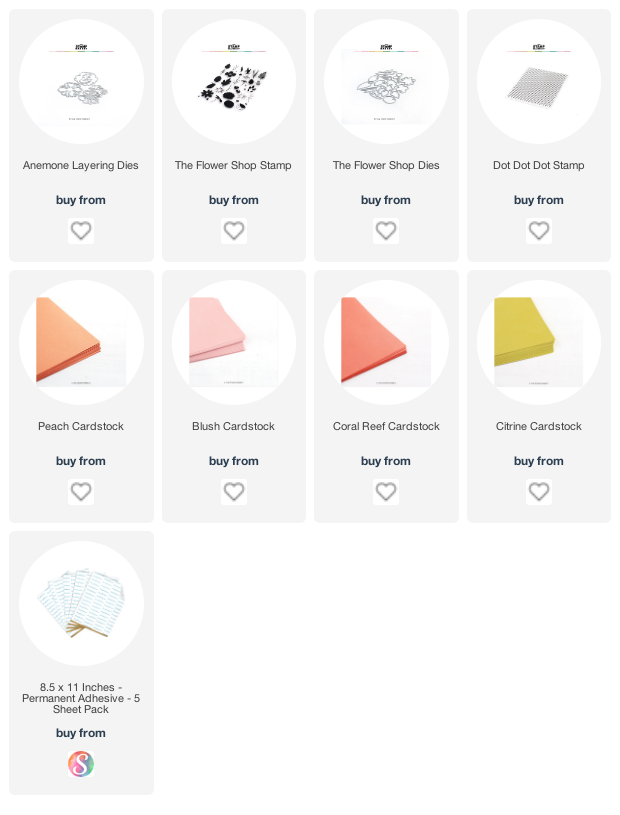
Not only are stamps and coordinating dies part of the line-up, but also these!
The stunning, delicate Anemone Layering dies! My heart be still...I want to use these on everything.

The neat part about this entire collection, is that it mixes and matches seamlessly. But for today's project, I focused only on the dies - look at how pretty these are!

I combined things up with a dotted vellum background, which is super easy to make with this dotted background stamp. And with my newest discovery, even easier to adhere.
I know you're thinking, that's impossible! But I've come across a favorite new way to adhere vellum..and I'm actually kind of frustrated that I never thought of it earlier! All these years, fussing with strategically placed adhesive, or wrapping it over a card base, or who knows-what-other-tactic to make it work. I know you feel me..

____________________________________________
TIP
For super easy, seamless adhesive coverage that doesn't show through vellum, you will need these adhesive sheets. I like the 8.5x11 size, which cover vellum sheets nicely. The trick to seamless coverage, is that your ENTIRE vellum piece needs to be covered. If only a part is covered, the adhesive will show, albeit slightly. But once the entire piece is covered, it's flawless! Whenever I get a new pile of adhesive sheets, I like to take a minute to pre-adhere some standard vellum stock, which I later trim into card bases and use for die-cutting. Turns out, trying to add adhesive after die-cutting is a bad, bad idea. Take it from me ;)
____________________________________________

Just look at that coverage! I will add - depending on the quality of your adhesive - it may turn the backside slightly off-white, which may show through your vellum. I found this adhesive to be minimally colored, and the ever-so-soft warmth it adds can be countered with a warmer-toned cardstock, so that there is a less of a tonal difference if you layer them like I've done here. I have yet to try it with colored cardstock.
I hope you've enjoyed this peek into my newest vellum discovery and these gorgeous dies.
Thanks so much for popping in today!

I only share products I love, and think you will too :)
Biggest thank you's for visiting and for your support! It means so much.


Another paper masterpiece, Ivana! I hadn't seen this release YET, nor thought of using a full sheet of adhesive for vellum! I only add adhesive behind the areas that are covered by elements of my design, and let the edges/corners flap freely!! You are SO smart!!
ReplyDelete=]
Thank you sweet, Michele!! Isn't this little die so cute? Also, I definitely still let my edges flap freely from time to time! lol
DeleteAnother pretty summer bouquet and that polka dotty vellum ~ swoon! Thanks for the adhesive tip!
ReplyDeleteThank you sweet friend! I know we're kindred souls when it comes to polka dots :)
DeleteSuch clever, inspiringly wonderful ideas. TYFS, dear Ivana. Adhesive sheets deserve far more time in the limelight than they generally get. They're unsung paper craftitng heros, if you ask me!
ReplyDeleteAutumn Zenith 🧡 Witchcrafted Life
Thank you so much sweet Autumn! So well said...Adhesive sheets are SUCH an all-purpose tool in the craft room..I even use them to secure clothing from time to time! Couldn't craft without them! xo
DeleteBeautiful work!
ReplyDeleteThank you so much, Tessa! xoxo
DeleteWhat a FABULOUS, FANTASTIC post! When you said “ warmer- toned cardstock” did you mean that you used a cream colored cardstock underneath your adhesive sheets? Your tip on NOT adding adhesive sheets to die cuts ( after the fact) is a priceless tip! You’re a gem Ivana and btw, I LOVE your card!!
ReplyDeleteAww thank you, Stephanie!! Yes, exactly...Though the cardstock I use is not cream, it's a slightly creamier white..And it works perfectly! I did try it with super bright white cardstock, and I don't mind the look at all, but the vellum does take on a slight tinge. Heaps of thanks for all the love and visits, friend! xo
Delete