Hi Friends! Today I'm sharing a Holiday card I created with some non-holiday stamps. I wanted to make a snowflake card but I was missing a large, beautiful flake in my stamp collection.
So, I decided to make my own! Using some simple pencil sketch guides, and the handy Misti stamp tool, it was pretty quick and easy to pull this together!I used the beautiful Pinkfresh Studio Pretty Paisley stamp set. I loved the insert paisley motif, and thought it would work perfectly for building my snowflake. If you have any stamp designs on hand that are linear in nature, they would work perfectly for this! Intricate borders, dotted borders, fancy motifs...The possibilities are endless!
STEP 1 - TEMPLATE
I first decided to cut a square piece of cardstock, measuring across two paisley motifs back-to-back to determine the length and width of the square. I then used a light pencil line to draw two lines, creating quadrants on my square, to act as a guide.
STEP 2 - STAMP + EMBOSS
I stamped four impressions along these lines with Versamark ink, heat embossing them in white.
By making the paper square, it was super easy to flip it around as needed in my Misti, to stamp four perfectly aligned flake arms.
I then inked up the same stamp, but only 3/4 of the way, so that I could stamp my in-between arms. This part I did freehand.
STEP 3 - INK IT UP!
After all the stamping was done, I used my ink blending tool to add some Saffron Spice to the center of the flake, Sweet Blush just around that, and Pale Peony on the ends. I find that sometimes the ink can stick to the embossed image, so I used a wee bit of damp paper towel to wipe away the excess for a cleaner look.
After my flake was done, I did a wee bit of fussy cutting, but you could leave it as is, and use it as a really fun background.
After cutting the snowflake detail, I adhered it to my card base, consisting of a yellow and pink combo, along with some vellum. For the pink oval I used a scalloped die such as this one here.
I added Queen and Co iridescent rhinestones, sequins and red seed beads for some extra sparkle.
For the center, I used a chipboard snowflake covered in glue, and heat embossed in a mix of Ranger Gold embossing powder and Stampendous Silver Halo Mix glitter.
I used the Great Joy stamp set to heat emboss a few little twinkles onto the vellum and the Merry and Bright Toy Shoppe stamp to add the sentiment.
Here's to stretching your stamps!
SUPPLIES
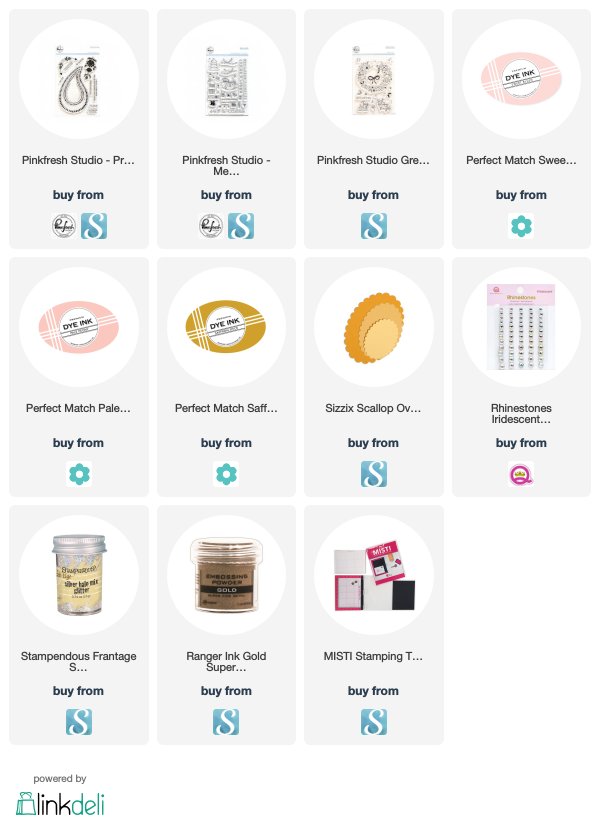
For your convenience, I've compiled a list featuring products used in the project(s) above. By using affiliate links when you shop, you will be helping to support this blog and exciting new content. Simply click below to go directly to the products, and in doing so, when you shop, I earn a small commission - at no extra cost to you! Yay to a double win!
Thank you so much for your support!


This is stunning Ivana! I like all of the glitz and glam you've added to it!
ReplyDeleteThanks so much, Lisa!! Glitz and glam is so fun around the holidays! :)
DeleteAbsolutely ingenius way to make a large snowflake, Ivana! I really love how you use soft colors to perfection! The outline sentiment in white would never have occurred to me & I love it!
ReplyDeleteThanks so much, Greta! You are too sweet! I'm just so excited when I find multiple uses for stamps - it's almost as if I gain a whole new collection to play with! But I can't take the credit because it's all of the wonderful designers who make these stamps so darn amazing!
DeleteWOW! This is stunning!! I LOVE the gold and the pretty colors you used. Cannot believe that you didn't have a large snowflake because you sure did a great job faking it. Just beautiful!
ReplyDeleteThank you so much, Nora! I know it's crazy right?! I couldn't believe it either - I must have gotten rid of it during my last purge! I have to admit, I panicked for a bit (feel silly admitting that! lol), but so glad this gorgeous stamp set came through!
Delete