

Hello and welcome to another Tutorial Tuesday! I'm SO excited to share with you my newest obsession! Are you ready?
For today's card, I have a very easy and fun way to add a lot of glitter to your heat-embossed projects, without any actual glitter!

STEPS
1. Dig out your favorite smooth glitter paper. The smoother the better, as stamps need a rather even surface to make a good impression.
2. Ink up your favorite background stamp with Versa Mark or other embossing ink. Here I've used the SSS Center Cut Heart Background stamp.
3. Prep your surface by liberally swiping your favorite anti-static pouch over your glittery paper.
4. Using a stamp positioning tool, ink up and stamp your design a couple of times with the embossing ink.
5. Add embossing powder in your choice of color, then shake off excess.
6. Using a fine brush, wipe away any stray bits. The impression will not be perfect (keep in mind, glittery paper is usually not as smooth as cardstock paper) but it still looks lovely!
7. Heat emboss with your heat tool. Be sure to heat up the tool before taking it to the paper.
8. Adorn with pretty details.

I really love this technique as it gives glitter paper a whole new life! It would be super fun to play around with different embossing powder hues, or even use a clear powder for a tone-on-tone look.
____________________________________________________________________
TIP
I used a very lightweight glitter paper, and while it did buckle a little during heating, since it was a sticky-backed paper, I was able to smooth it out easily when adhering to my cardstock. If you use a heavier weight paper, it should work even better.
____________________________________________________________________
____________________________________________________________________

For the center accent, I heat-embossed a vellum heart, colored in with my new Prismacolor and Polychromos coloring pencils. You can get the full tutorial here.
For the sentiment, I added Lawn Fawn's Scripty Hugs, cut in soft pink cardstock.

And here's another quick take on this design, sans heat-embossing.

Here, I used a sparkly embossing powder to heat emboss Altenew's Caps Bold Alpha dies, and added a few little inked hearts.

I love both of these glittery cards, and especially these sweet, sweet hearts.

Last but not least, a very quick peek into the goodies that are getting bundled with these cards. We love assembling little kits, and this sweet pile of baking supplies is headed in the direction of two very special little kiddos in our lives.

A bundle of baking toppings, marshmallows for cocoa, and the sweetest little stirring utensils.

So much fun putting this together :)


I hope you enjoyed today's tutorial! Thank you so much for your visits.
____________________________________________________________________
I would LOVE to see how you emboss your glittery paper! Share it with us by tagging your projects on Instagram!
If you're not sure what #letsmakesomethinglovely is, check out the intro post here.
____________________________________________________________________
____________________________________________________________________
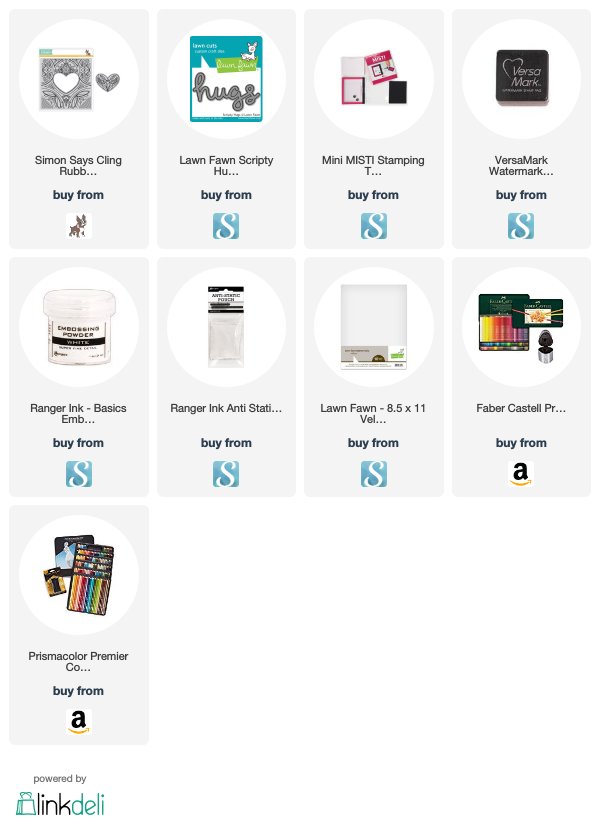
SUPPLIES
For your convenience, I've compiled a list featuring products used in the project(s) above. By using affiliate links when you shop, you will be helping to support this blog and exciting new content. Simply click below to go directly to the products, and in doing so, when you shop, I earn a small commission - at no extra cost to you! Yay to a double win!
Thank you so much for your support!


Goodness gracious is that sparkle ever glorious! These are all such a treat Ivana, love them!
ReplyDeleteThanks so much sweet friend! Biggest x’s and o’s to you!
Delete