Hello and happy day!
Thanks for popping in! I'm back with my second Wonder Stix post, and one of my absolutely favorite ways to use these crayons. Besides vellum, of course :)
I love the beautiful texture dry embossing creates, but I don't always find it gives enough life to my cards. I love color, and find that the texture is sometimes not enough to give my cards what I'm looking for. Raise your hand if you're like me, and you've shied away from dry-embossing for this reason.
Prior to these crayons, I hadn't found an easy way to add color or interest to the raised designs. Ink was a little too messy. Copics would bleed. Coloring pencils were too rough and would de-boss the beautiful texture....And then Wonder Stix came along! With just the right amount of creaminess, making it super quick and easy to add color to the raised bits, and superior coverage so that even light hues cover darker cardstock seamlessly. Such a dream to work with!
I think dry embossing has just risen to to tippity top of my favorite techniques once again, and it's all thanks to these lovely little coloring sticks :)
To start my card today, I ran a rose embossing folder along with some tan cardstock through my Big Shot. I then used my Wonder Stix to loosely color in some of the roses and leaves.
I wasn't too careful in applying the color at all, and I was still was able to get a really pretty look. There's something so satisfying about running color along these little roses...and watching them come to life! To accent the roses a bit, I also stitched in some seed beads, and added a gorgeous vellum heart, accented with some felt.
For the sentiment, I used a heat-embossed design on vellum, as well as a heat-embossed font right on the cardstock. I love splitting up my sentiment like this to add a bit of visual interest.
And here is a peek at all the texture from the side. Although delicate, it still makes a bit statement!
What do you think? Does this change your mind about dry embossing! It sure has for me.
Thanks so much for joining me!
____________________________________________
Why not give dry embossing a try with this fun technique! We'd love to see what you make, so please feel free to tag your project with
#letsmakesomethinglovely
____________________________________________
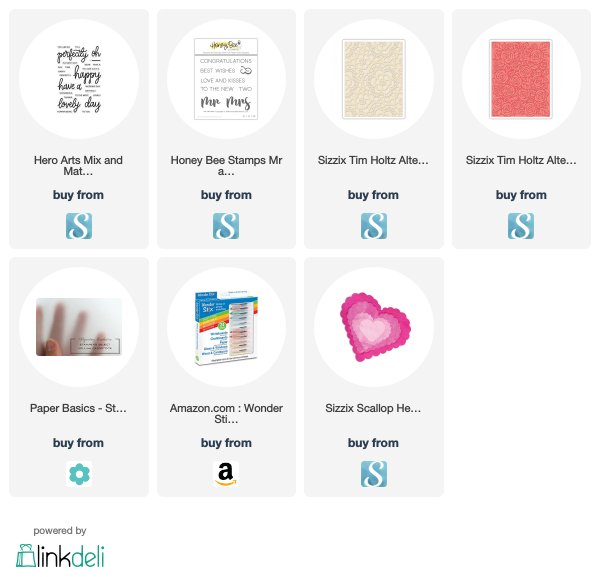
SUPPLIES
This list may feature some affiliate links to products used in the project(s) above. Should you use these links before shopping, it will never add any extra cost to your purchase, but it will go a long way in helping support this blog and exciting new content.
I only share products I love, and think you will too :)
Biggest thank you's for visiting and for your support! It really means so much.


Beautiful technique Ivana! I must give it a try. I have played with my new set of WStxs and love them! This was a great idea to pass on, thank you~ hugs, kareno
ReplyDeleteThank you so much, dear friend! So glad they’ve been a good addition :) I feel like everyday I discover new ways of using them, which is always fun! Biggest if hugs xo
DeleteOooh! I love the look, thanks for sharing the idea!
ReplyDeleteThank you so much! Sending hugs! Xo
DeleteI've never added color to my dry embossing, it looks pretty Ivana! I like the beads you stitched on, what a lovely accent for this feminine card!
ReplyDeleteOh it's so fun, Lisa! I'm kind of hooked :) Thank you so much, dear friend! xo
DeleteA wedding card to be treasured, Ivana! You've breathed beautiful life into the roses with the Wonder Stix and the beads? Oh my...a touch that elevates a pretty card to GORGEOUS! Love this!
ReplyDeletehugs~carol
Thank you so much, Carol! These little crayons are sure versatile ;)
Delete