Good Morning!
What a delight to be greeted with some sunshine today! I hope it's sunny wherever you may be too :)
Speaking of which, today's project brings sunny thoughts to mind. It's a very quick share, featuring some pretty blooms and a DIY gift box, which started out as a card, but quickly morphed into a cute packaging idea.
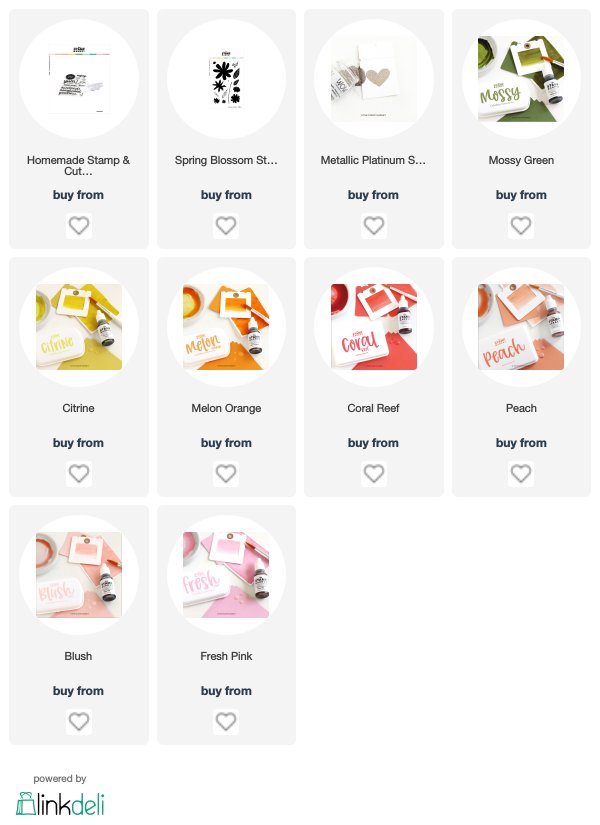
To make my card base, I used a few darling toppings from TSM - Spring Blossom, Homemade bundle, and a heaping of delicious Color Crush ink hues - all linked up below.
To make the box, I used standard cardstock, and scored things up with my trimmer (any scoring mechanism would work though). This method works super well if you don't have any larger cardstock on hand, as the box consists of two pieces - a top and a bottom - which are made individually.
____________________________________________
Before adhering the base onto the box, I added a tiny sentiment accent using the Dear Friend mini stamp.
I so enjoyed making this little altered project! And I can hardly wait to fill it with yummy treats for someone special ;)

Biggest thank you's for visiting and for your support! It means so much.
What a delight to be greeted with some sunshine today! I hope it's sunny wherever you may be too :)
Speaking of which, today's project brings sunny thoughts to mind. It's a very quick share, featuring some pretty blooms and a DIY gift box, which started out as a card, but quickly morphed into a cute packaging idea.
To make my card base, I used a few darling toppings from TSM - Spring Blossom, Homemade bundle, and a heaping of delicious Color Crush ink hues - all linked up below.
To make the box, I used standard cardstock, and scored things up with my trimmer (any scoring mechanism would work though). This method works super well if you don't have any larger cardstock on hand, as the box consists of two pieces - a top and a bottom - which are made individually.
____________________________________________
TIP
I wanted my box to be slightly bigger than my card base, so I decided that the top and bottom of the box would be 5.75" x 4.5", and I wanted deep enough sides so that it would be easy to add in some larger baked goods, so I settled on 2". This meant that my starting size would need to be 9.75" x 8.5", and that my score would need to be 2" all around. Once I was done cutting and scoring, I snipped a slit and in the corner score lines, which makes folding a little easier. This is a pretty good photo tutorial if you're a visual learner like I am.____________________________________________
Before adhering the base onto the box, I added a tiny sentiment accent using the Dear Friend mini stamp.
I so enjoyed making this little altered project! And I can hardly wait to fill it with yummy treats for someone special ;)

This list may contain affiliate links, but using these links before shopping will never add any extra cost to your purchase, and will go a long way in helping support this blog and exciting new content.
I only share products I love, and think you will too :)
I only share products I love, and think you will too :)
Biggest thank you's for visiting and for your support! It means so much.


Too pretty to open Ivana! You do have a way with the color coral. It looks lovely here with the olive, gold and soft pink!
ReplyDeleteThank you dear friend :) It's a favorite, for sure! xo
DeleteWho needs anything at all inside, Ivana?? This is such a beautiful box! Thanks, so very much for sharing the instructions for making it!
ReplyDeleteGorgeousness always found here!
=]
Oh Michele, you make me lol! Could you imagine if I delivered it empty?! You're so sweet, friend..Biggest thanks!! xoxo
DeleteSo pretty! Love the color combo and those beautiful flowers!
ReplyDeleteThank you so much, Denise!! So glad you like the colors and florals :)
DeleteThanks for sharing Snapguide, it’s a great site! At first glance, I thought your project was a card, it’s so pretty. I especially love the stamped sentiments on the corners. 😊
ReplyDeleteThank you so much, Stephanie! I'm so glad you liked this post. It was a card initially, but sometimes things take a turn in the craftroom, and it works out for the better! lol
DeleteThank you for sharing Snapguide! I thought your project was a card at first glance, it’s beautiful!
ReplyDeleteDelightfully pretty!!
ReplyDelete