
I fell in love with embroidery at a very young age, watching both my mom and grandma stitch beautiful art. It's been such a joy to see embroidery, once again, coming back into the mainstream. Have you noticed it all around lately?
Last year, among the lovely embroidered details we added to our decor, I also found the dreamiest embroidered dress and wore it practically all Summer. I can't wait for the mercury to rise so I can slip into it once again :)
Until then, I've been playing with a bit of embroidery in the craft room. I'm not exactly the needle + thread connoisseur like the ladies in my family, but I sure can work embossing paste.
So I've got a cheat embroidery look for you today and it's as simple as can be.

______________________________________________________________________
SUPPLIES
a stencil of your choice (here is the one above, but this one is pretty too
molding paste,
a variety of ink refills or other color mediums to dye your paste,
a palette knife, and
some cardstock, watercolor paper, or thick art journal paper - the weight of your paper will depend on how wet your paste is. The molding paste I use is rather dry, so it doesn't buckle or warp cardstock, and I love it for that reason.
STEPS
1. Position the stencil over the card base, and secure it to your working surface with some tape. I use Post-It Labeling and Cover Up tape, and it works like a charm, leaving no sticky residue behind. It's easy to remove, and doesn't tear the paper either.
2. Once the surface is prepped, it's time to tint the embossing paste! To do this, make a few mounds on your palette, and then color each mound with a drop of a water-based re-inker color. For this card, I used Distress re-inkers in colors of Peeled Paint, Fossilized Amber, Abandoned Coral, and Peacock Feathers.
3. Lastly, apply the paste over the stencil with a palette knife, paying attention to alternate colors between leaves and flowers. Remove stencil and enjoy!
______________________________________________________________________
TIP
For an ombre look, such as in the flowers below, partially mix your paste with color, and embrace the variation!
______________________________________________________________________

Once my background was all dry, I layered the 'embroidered' card base onto some polka dotted patterned paper, and stamped a few dots and miniature florals around the leaves, using the same colors of ink.
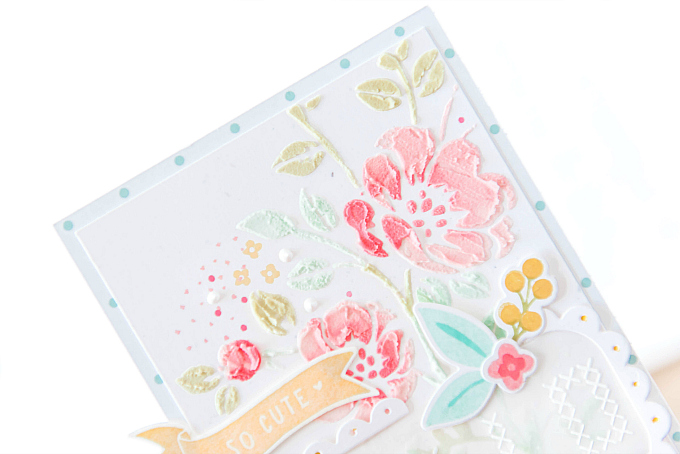
I added a floral cluster, stamped using Wplus9's Fresh Cut Florals stamps and dies.

To the side, I added a fussy cut banner, stamped with Crate Paper's Little You stamp set, which is the sweetest, cutest little stamp!

To the center, I added a sentiment, stamped on vellum, in a stitched font. I don't recall what set this sentiment is from, but I thought the stitched letters were perfect for this look, and I think the softness of the vellum and white embossing helps to not take attention away from the 'embroidery'.
I framed the vellum with a scalloped border, cut using PTI's Tag Sale #10 die, and I colored the little dots with a yellow marker.

At the bottom, I added some more stamped dots and tiny flowers, as well as a few liquid pearls.
I'm loving the way this card turned out, and I think it's the perfect way to quickly fake an embroidered look. What do you think? Does it remind you of embroidery?
Before I head off, I wanted to share another card I created recently, using the April Monthly Challenge sketch inspo over on the Pinkfresh Blog.

I thought the sketch was perfect for framing this fun, adorable cake, stamped with the Sweet Treats stamp set by Pinkfresh.
Because the cake was so colorful, I decided to just carry that theme throughout the whole card and create an explosion of colors and textures. This style is definitely a bit of a departure for me. I'm still not sure if I like so much detail...What do you all think??

I stared with a white card base. I used Distress Inks to color the chipboard frame in colors of Shabby Shutters, Peacock Feathers, Spun Sugar, Abandoned Coral and Fossilized Amber.

I used the brand new Sweet Treats stamp set from Pinkfresh to stamp the cake, itty bitty florals and sentiment. And I think I looooove this set! It may just need to be permanently added to my collection :)
I used the coordinating dies, to cut the cake and stand. Before stamping the cake layers, I watercolored my cardstock in a rainbow of stripes. Then I stamped two of the cake layers, embossing them in Ranger Fine Detail White embossing powder.. I added some liquid pearls to mimic delicate icing, and stamped the cake stand in a soft pink color.
I stamped and embossed the cake sparkler and sentiment on acetate so that I could layer the bitty bits across the cake. I've recently been using heat-safe acetate that works wonders when embossed, and doesn't melt or buckle at all. I absolutely love how it gives a look of floating, and allows me to add delicate details to any card.

For all the little flower clusters, I loosely watercolored each one, using the same Distress Ink colors as I used for the frame.

At the bottom of the card, I added some patterns - some dotted pink paper and a pretty yellow pattern.

Along the side of the frame, I sprinkled on some buttons, fussy cut butterflies from Pink Paislee's Turn the Page collection, heart border from the PTI's Confetti Garlands, and oodles of sequins, liquid pearls and star stamps.
As busy as this card is, it sort of makes me really happy!
I'm so thankful for your visits and sweet notes. Wishing you all a wonderful week :)
Ivana
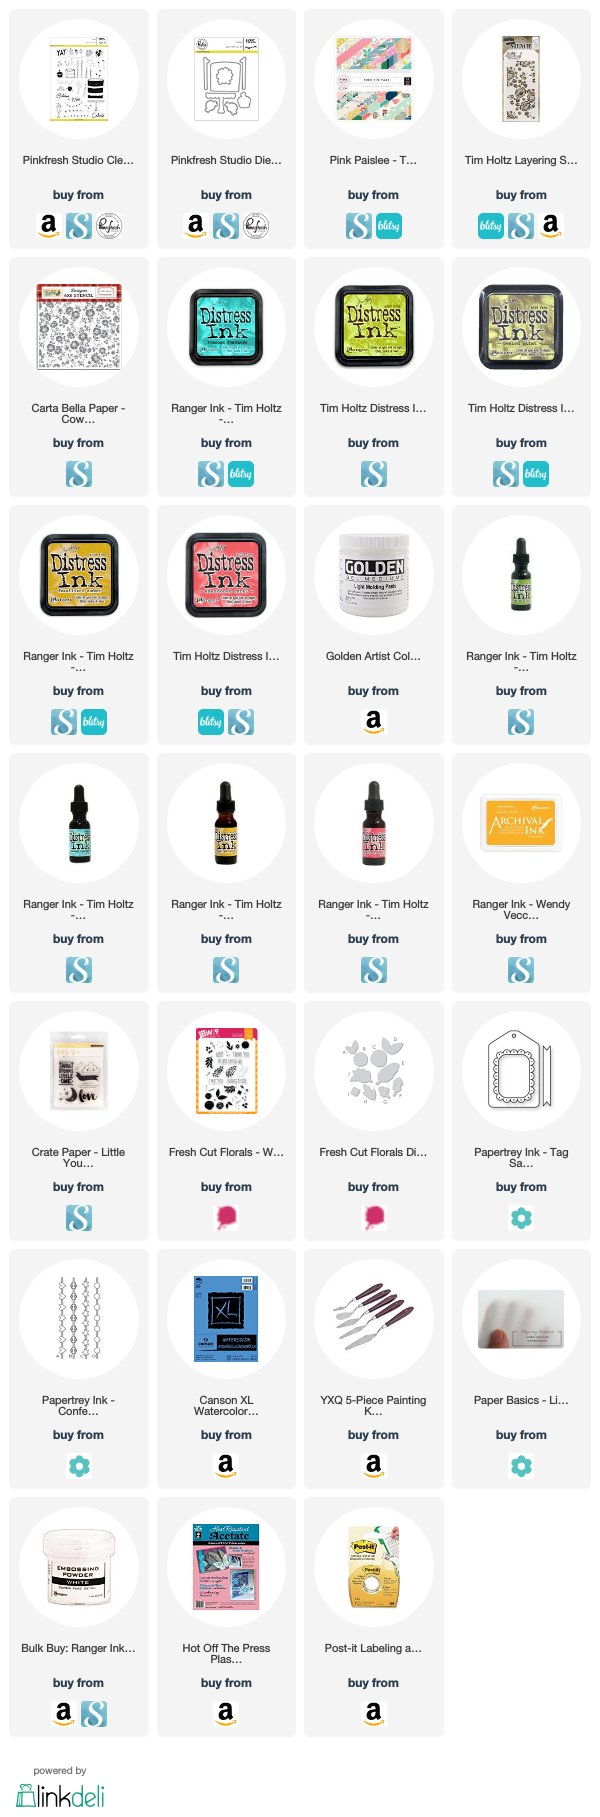
p.s. Friends - I'm trying out a NEW supplies list that will be featured at the end of each post. I hope it will make shopping a little easier and allow you to quickly see products I've used on each project. Using this feature will not add any additional costs to your purchase, but it will go a long way in helping me maintain this little blog of mine. Your purchases through any of the AMAZON, BLITSY or SCRAPBOOK.COM links below will help me convert a small portion of your sales towards running this little blog and creating new, exciting content on an on-going basis. So if you like what you see here and you enjoy visiting my creative space, please consider using these links when you shop.
Also please note, although I do make a small commission on the sale of some products I feature, all products used on this blog and opinions shared are my own and are not influenced in any way.
I simply love to share the goodies that make crafting fun for me, in hopes that they'll do the same for you! :)
I want to extend a HUGE thank you to anyone who has already used these links! Your support means the world to me and I cannot express my gratitude enough. Thank you!


Ivana I believe these sets, with their tiny little details, were designed with you in mind! So beautiful, each in its own way... I totally am reminded of embroidery, using variegated thread!
ReplyDeleteGorgeous!
=]
Aw thanks, Michele! :) Sending you a big hug!
DeleteSo beautiful - and I love all the girlie touches - so soft and romantic. What a talent you have!
ReplyDeleteA big, heartfelt thank you, Dianne!! Sending you many hugs - hope it's not getting too hot there just yet!
DeleteYour cards are absolutely beautiful!! I love your remake of the embroidery. On your second card I think you did a great job of all the detail so it works!! You have so many creative ideas.
ReplyDeleteThank you so much, Sadie! I'm so glad you think the second card works! I'm still not sure about it but it so wonderful to try new things! Sending you big hugs, my dear SK scrapping friend!
DeleteYour cards are gorgeous Ivana!! Sooo lovely~ I like your technique with the paste! (wow girl! :) The texture is amazing. And the card you created for PinkFresh is Gorgeous! One of my very favorites~ Thanks for sharing.
ReplyDelete(I'm off to CO soon to be with my mom; very ill:( But I hope to stop into your blog when possible~ Love & Hugs, karen o
Really?!?! Karen, I'm so glad you like the Pinkfresh card! I was hesitant to even share it - but it's wonderful to just let loose and try new things! I'm so glad you like it :) Wishing you safe travels, dear friend, and hoping that you're ok.
DeleteOh my, Ivana, I am drooling over these beauties!! I think the first one needs to be framed, it is such a masterpiece of color and textures. I love how you combined the textures paste stenciling with die cut flowers. Thanks for telling us how you did it too! Lovely, lovely designs.
ReplyDeleteAw, thank you SO much, Cindy!! What an incredibly kind and sweet compliment - I am blushing! Big, big thank you for visiting and for such kind words! Sending you hugs!
DeleteIvana!! Your cards are BREATHTAKING!! I LOVE your use of the paste on the first one. The flowers are just stunning!! The second one with the cake is just so yummy. Your designs are just stunning!!!
ReplyDeleteNora, thank you soooo much for the incredibly sweet and heartfelt note! I can't tell you how much you've made me smile! Thank you, dear crafty friend!
DeleteThese are both gorgeous!! Love the soft yet vibrant colors. Love your style. Even the one you say is not your style. Lol! Thanks for stopping by my place too. I am going to try to stop by here more often. Lots if inspiration here!
ReplyDeleteThank SO much, Lisa!! It means a lot to me that you like them :) And especially the second card! It's always a little scary to step outside the comfort zone, ya know?
DeleteGorgeous cards Ivana, especially like the fist one's texture! Such a wonderful work as always!
ReplyDeleteHugs
Samra
Paper Talk with Samra
Thank you so much, Samra!! The first card is definitely more my style too! :)
DeleteThese 2 are darlings! First one is very close to my heart because both my mom and her mom were embroiderin a lot in old times. I aslo love to do it but as you know...to many ideas...to little time ;) xoxo missing you!
ReplyDeleteOh Aneta, I know what you mean. Maybe one day we will have more time and you and I will tackle a new hobby? :)
Delete