

Hello Friends and welcome to another Pinkfresh Studio post! I'm over on the PFS blog today, sharing two cards, using a heap of beautiful folk art inspired stamps and dies.

I love folk art style - it's just as fun to color in a traditional range of bright hues, as it is to dress up in elegant layers and textures. Today, I'm attempting both, and also including a fun lacey envelope tutorial, that couldn't be easier.

First up, I wanted to make a card that showcased the gorgeous hummingbird and floral duo from the Folkart Hummingbird set. Aren't these both sooo beautiful?!
I heat embossed these pretties onto some cardstock, and then used some Prismacolor coloring pencils to add in all the vibrant hues.
____________________________________________
TIP
If you don't know much about coloring pencils, or need a little more info before you dive in and invest into your own set, I did a post a little while back that compares two industry favorites and breaks down all their features. You can find the post here.
____________________________________________

Around the lovely designs, I added some black paint splatters, and a few little crystals, which are coming your way very, very soon ;)

I also used one of my favorite dies, the Classic Edgers, to add a little scallop to the top of the card, and I used the Stitched Rectangles to cut out a little peach cardstock, which tucks in between the two layers.

The sentiment is also included in the set, and I had a little bit of fun here with color blocking. A super fun and easy way to add a little pop to sentiments! It's really the only time I don't mind masking ;)

Next up, I pulled out this gorgeous Fancy Floral Die to share with you a super easy way to dress up your mail...With lacey envelopes! To put together, simply cut out two identical pieces of a card front design, followed by two matching-sized pieces of acetate to back each die-cut. The acetate helps with super intricate die-cuts, so that your mail stays put in place. Then adhere the two fronts together on three sides, leaving the top open. You can leave it as it, and tuck in your note card (for a hand-delivery), or tuck the note card all the way in, and seal the top if the card will be mailed. I made my note card a fair bit smaller, to ensure that the recipient does not cut it when opening this envelope ;)

For the note card, I used the gorgeous Folk Mandala stamp, with two different techniques. First I heat-embossed the main image in white, and colored in a bit with my coloring pencils. Next, I stamped the little birdie accents with a darker blue dye ink, followed by Tumbled Glass Distress Oxide ink, which helps cover some of the dark blue, and gives the birdies a fine-china-print-look. I kind of like it! What do you think?

I added a few more crystals around the lacey florals, and a sweet red scalloped edge using Classic Edgers on the bottom. I used the matching Folk Mandala die for my letters below.

I hope these cards inspire some folk art designs or fun envelopes of your own!
____________________________________________
If today's projects inspire you, please feel free to share your art with us by tagging
#letsmakesomethinglovely
We'd love to see what you make :)
____________________________________________
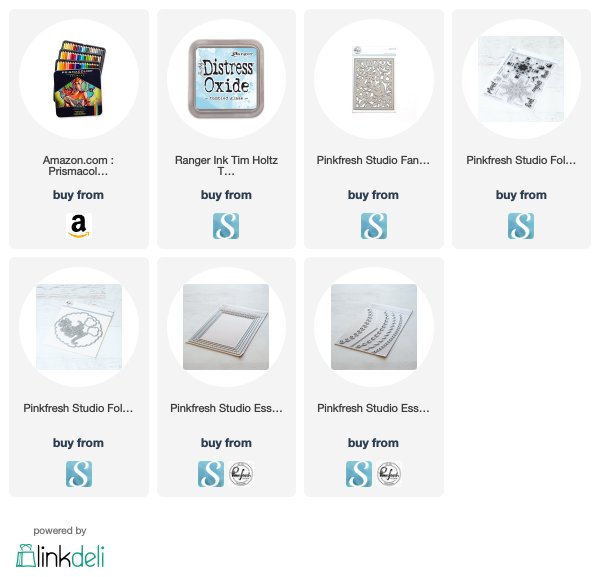
SUPPLIES
This list may contain affiliate links. Should you use these links before shopping, it will never add any extra cost to your purchase, but it will go a long way in helping support this blog and exciting new content.
I only share products I love, and think you will too :)
Biggest thank you's for visiting and for your support! It means so much.
If today's projects inspire you, please feel free to share your art with us by tagging
#letsmakesomethinglovely
We'd love to see what you make :)
____________________________________________
SUPPLIES
This list may contain affiliate links. Should you use these links before shopping, it will never add any extra cost to your purchase, but it will go a long way in helping support this blog and exciting new content.
I only share products I love, and think you will too :)
Biggest thank you's for visiting and for your support! It means so much.


Oh my, Ivana...these are absolutely stunning and innovative! Love the hummingbird that, with a variety of sentiments, would make a fabulous gift set! And the envelope/note card: what a joy that would be to receive in the mail! Visiting here is a marvelous start to an early Saturday!
ReplyDeletehugs~carol
Thank you so much, sweet friend! I think you're absolutely right, they would make for super sweet note cards! I might just have to make a set :)
Delete