
Hello darlings!
I am so excited to be popping in today because I have a brand new video!
Summer was bustling, and I had to take a wee hiatus from filming. But now that things are settling a bit, I'm back in my director chair, dreaming up all sorts of things to share with you!
Tell me - is there anything you'd like to see in the future? I'm happily taking requests :)

For today, a tutorial I've been meaning to do for a LONG time.
These gorgeous fonts nudged me to finally go for it. They are the perfect canvas, but really, any outline fonts, or shape dies will do for this fun take on a shaker. My video today breaks down how I like to make my shakers (there are two ways I go about them) and when to use the different techniques. I will also break down how easy it is to switch up the look of your shakers (and up the sparkle factor!!) with just one simple trick. AND I'll break down how I made this cutie! Custom glitter and all :)

You can find my video here. But for the purposes of this post, I'll walk you through how I made this simple card. Once the shaker is done, the rest is super easy!

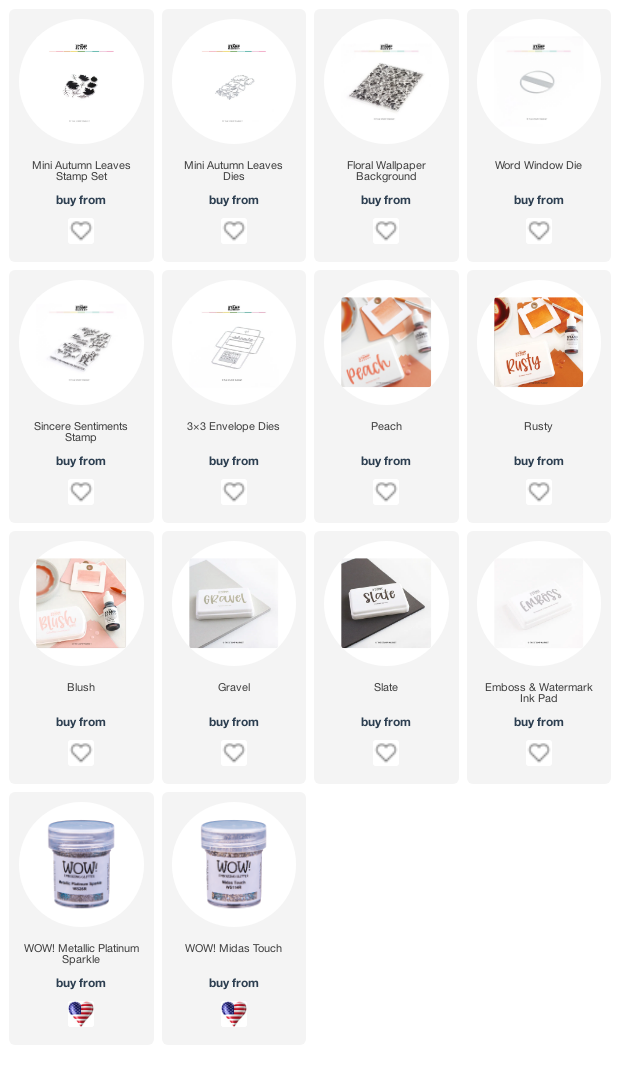
I stamped and embossed the gorgeous Floral Wallpaper design from TSM, cutting out a circle with the Word Window die. I tucked in the cute stamped leaves all around the frame, and added some rhinestones at the top of the card. A few of the leaves got a glittery treatment, with my two favorite embossing powders - Platinum Sparkle and Midas Touch.

I then added my sparkly letters, and voila! A super, duper luxurious card, in minutes!

You have to see the sparkle over on Insta...The video and photos just don't do it justice.

If you're anything like me, you'll be addicted to this MEGA sparkle trick! I've personally been making font shakers to stash away (and use on Christmas cards) all week! They are so easy and super mindless to put together, making them a perfect activity while watching your favorite shows or just lounging around.

I have a couple more cards to share in coming days (which were featured in the video), but for today, to accompany my sparkly card, I've made a cozy, felted pocket, to use up some of the cute leaves I had left over. I used the 3x3 envelope die to cut it out.

Inside, I tucked in the darling Embroidery Hoop, backed with vellum and stamped up with my new favorite sentiment :)

SO much fun making these two! I can't wait to share more glittery goodness as the cooler months approach.

Be sure to stop by in a few days when I share the other two cards in the video :)
Thank you so much for popping in!
xo
 This list may contain affiliate links. Using these links before shopping will never add any extra cost to your purchase, but will go a long way in helping support this little blog and exciting new content.
I only share products I love, and think you will too :)
Biggest thank you's for visiting and for your support! It means so much.
xo

I only share products I love, and think you will too :)
Biggest thank you's for visiting and for your support! It means so much.


Loved your video and love all of your fancy sparkly cards! Gorgeous work!
ReplyDeleteThank you so much, sweet friend! I am so glad you liked it! xoxo
DeleteIvana, I always love your use of color ... but today's card is heading right to the top of my neutral-loving list! Can't wait to see you do your magic...
ReplyDelete=]
That makes me smile, Michele! I know how much you love grey, and this not that far off :) Heaps of thanks for all of your lovely notes! xo
DeleteI'll be back to watch the video when hubby isn't watching TV while I read blogs. Really love how you put elements together, Ivana, & I love the idea of font shakers & felt envelopes!
ReplyDeleteGloriously gorgeous design, my sweet friend. My "blink" thought the moment I saw this warm, earthy, dreamy colour palette is how sublime it would (also) be for a fall time wedding.
ReplyDeleteAutumn Zenith 🎃 Witchcrafted Life